

Supplies
1 tube of choice – I used the artwork of Jose Cano which can be
purchased from PSP Tubes Emporium. You must have
a license to use.
Plugs Ins used:
Mura’s Meister – Cloud
I used the following scripts and overlays which were created by Chris
of Katelynn’s Designs to make all the elements in this tutorial:
Beach Overlays
Dock Script
Life Saver Frame Script
Water Lilly Script
Be sure to stop by Chris’ blog to check out more of her awesome work and
find links to her stores for purchase.
This tutorial was written assuming you have a working knowledge of PSP.
~♥~ Let’s get started ~♥~
This is the color pallet I chose to use:

Run all scripts to create the elements.
Create 2 starfish, each a different color.
If you don’t know how to run a script go here for a written tutorial. It’s quite easy and running a script is
always so amazing to sit back and watch!
Use the Beach Water 7 Overlay on an 800 x 800 canvas using the blue
color from my color pallet.
Once you have all scripts run and saved as PNG’s flood fill a 700 x 700
blank canvas with #ffffff.
Copy and paste Life Saver as a new layer.
Resize 25% and 80%
Click inside of it with your Magic Wand.
Selections/Modify/Expand by 4.
New Raster layer below the frame.
Copy and paste the Overlay Into Selection.
Deselect.
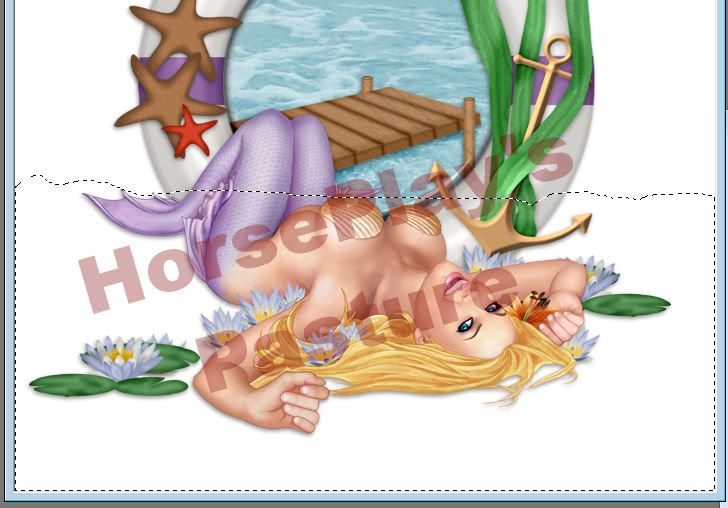
Arrange the rest of the elements using my tag as reference.
Dock: Resize 25% and 60% (erase what overhangs the lifesaver)
Lilly Pad: Resize 10%/Duplicate/Mirror
Starfish: Resize 10% and 60%/Duplicate/Mirror
The other starfish: Resize 10%
and 30%/Mirror
Copy and paste your tube as a new layer.
To make the paper for the background:
New Raster layer above the white background.
Color Pallet:
Foreground: #ca8e5c
Background: #f7d3b1
Make your Freehand Selection Tool active set on Freehand.
Section off your canvas but make the top of the line squiggly a bit,
not blunt and straight.
Apply Mura’s Meister – Cloud:
Default settings
Selections/Modify/Inside Outside Feather:
Both checked
Feather amount: 30
OK
Selections/Invert
Tap the delete key about 4 times.
Deselect.
This will be your sand layer.
Color Pallet:
Foreground: #b6cdd3
Background: #d8e6ef
Highlight your white background.
New Raster layer.
Apply Mura’s Meister – Cloud:
Click the reset button.
OK
This will be your sky layer.
Merge Visible the sky and sand layers.
Apply the mask.
Merge Group.
Duplicaste
Add your credits.
Add your name.
Foreground: #815536
Background: #bf490f
Stroke: 1
Type your name.
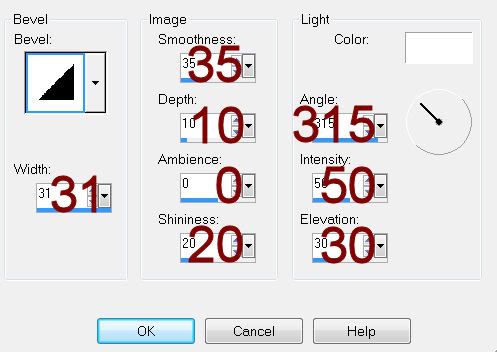
Give it a slight Inner Bevel:
Resize all layers 80%.
No comments:
Post a Comment